Tutorial kali ini akan membuat sebuah adegan di mana paranormal seorang gadis bangun dari tempat tidurnya dengan lilin di tangannya dan menemukan mengejutkan dirinya hantu di depannya. Dalam perjalanan menciptakan adegan ini kita akan mencakup topik seperti:
- Membuat adegan malam
- Menciptakan efek cahaya lilin di kamar
- Dan jauh lebih menarik hal-hal yang berkaitan dengan manipulasi foto
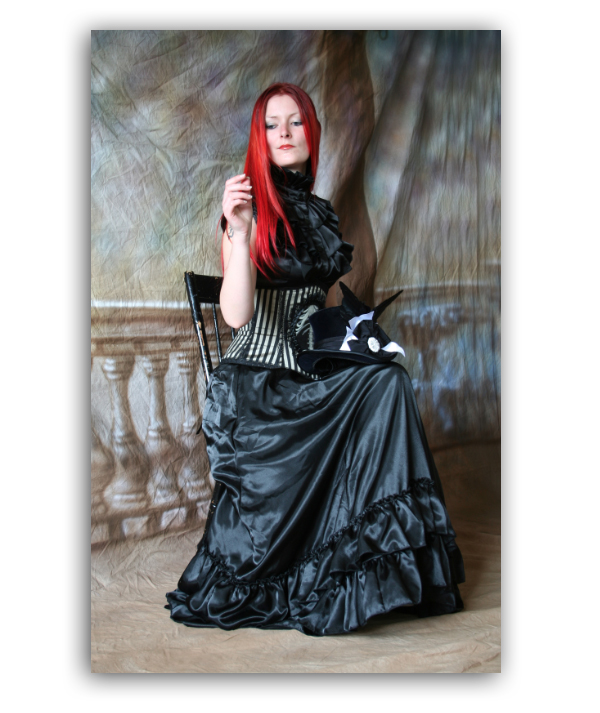
- Girl Pieceofmestock
- Room: sxc.hu
- Table: quiet-stock
- Ghost: Mizzd-stock
- Photo-Frame: Ro-stock
- Photo: Mizzd-stock
- Curtains: linzee777
- Creepy Font: urbanfonts.com
- Smoke Brushes: falln-stock
Let’s Get the Tutorial Started
Step1: Create a new canvas in Photoshop with the dimensions Width=2098px and Height=2264px. 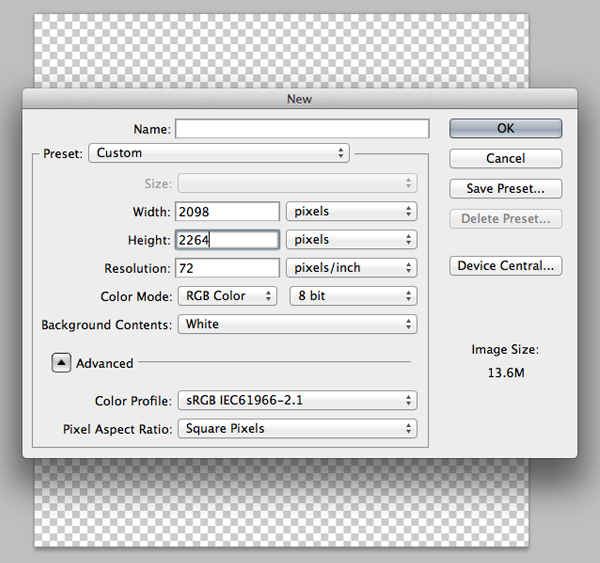

Step2: 1) Now select a mask around the woman with candle, and make a rough mask around the hair part. 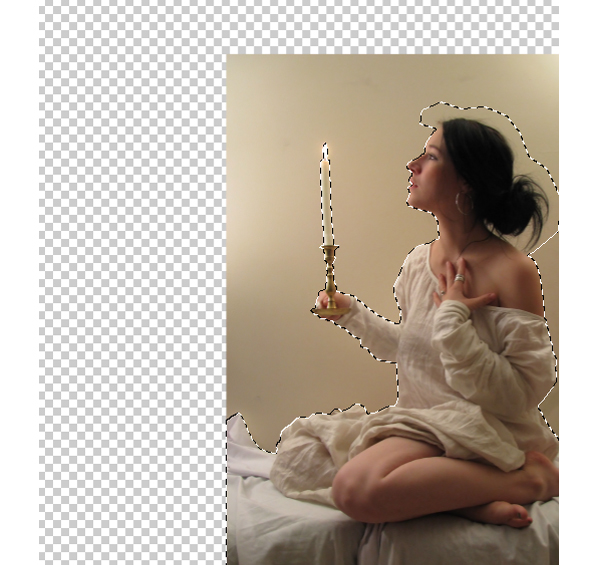

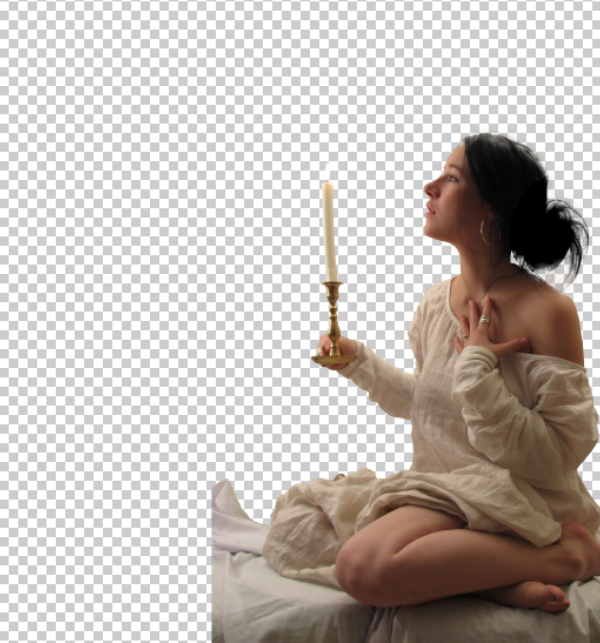
2) Now using the Lasso Tool (L) create a rough mask around the inner part of the hair as shown. Then go to Select>Refine Edge and grace the complex edges of the hair using the Refine Radius Tool. Once you are done with it press OK to get the detailed cut of the complex hair edges.
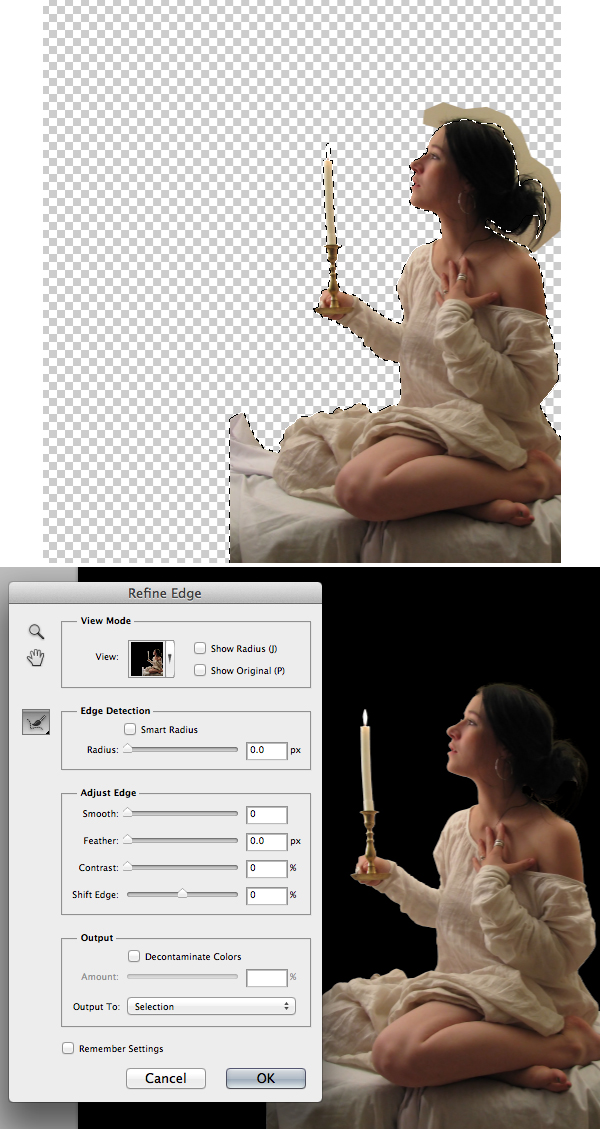
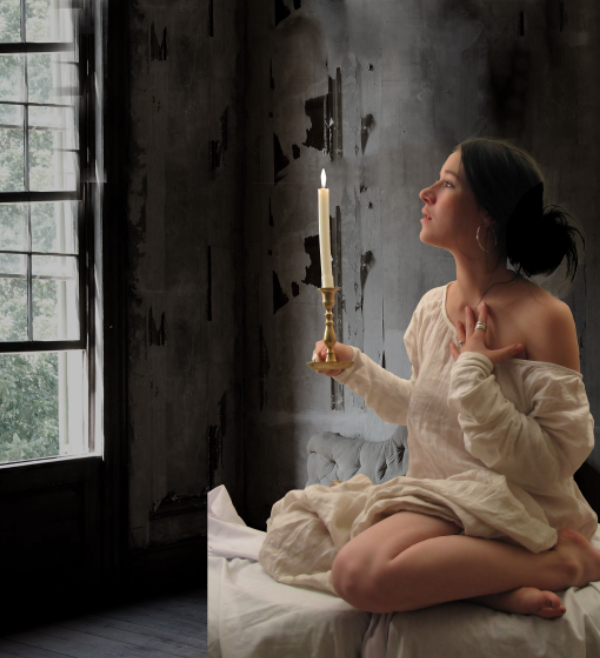
Step3: Now import the image of the haunted room onto the canvas and place it behind the woman to illustrate that the woman is in the haunted room.
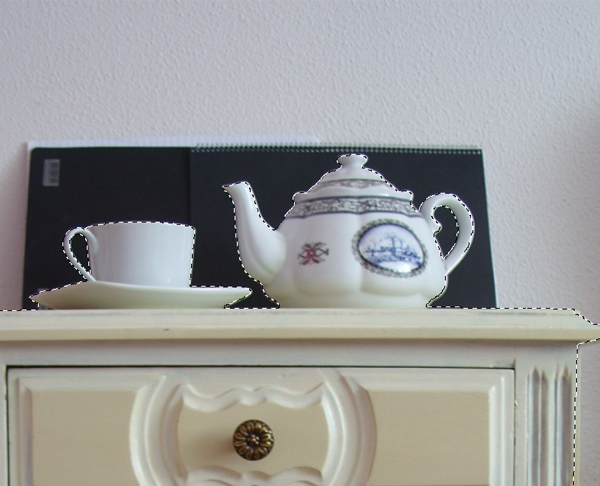
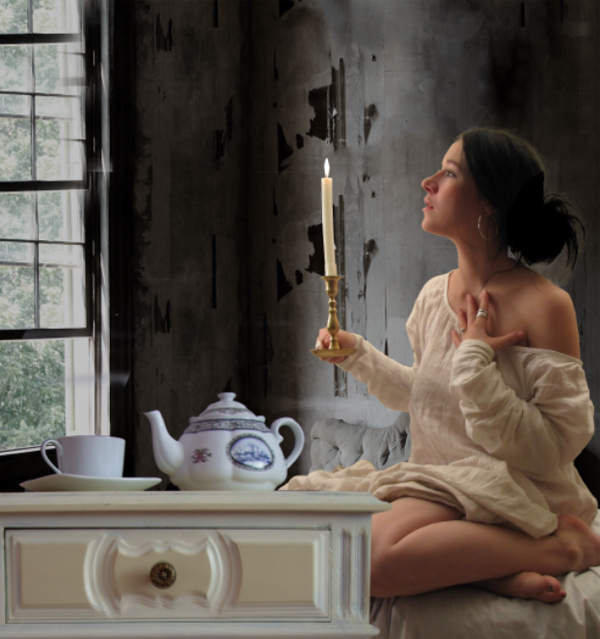
Step4: As we know a room cannot be completed without the properties like table a flask or cup on it etc. Hence we are going to add a table with a cup and a tea pot on it.
– Cut the image of the table and the groceries on it using the Pen Tool (P) and separate it into a new layer and import it on to the working canvas and place it as shown in the scene.
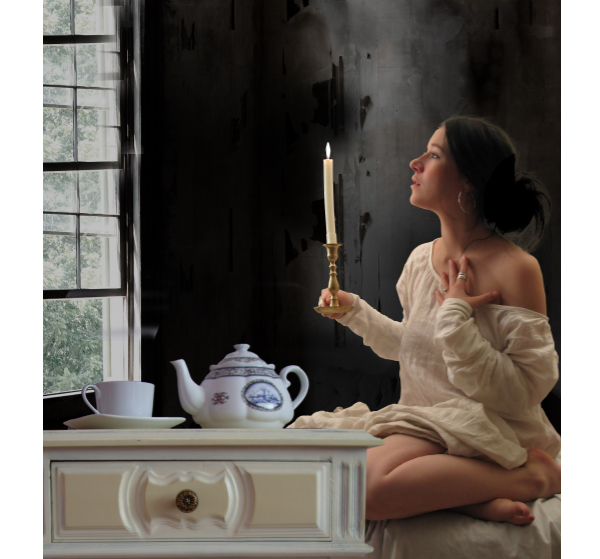
Step5: Since we are creating a night scene, we need the room to be dark. Hence we are going to create some dark shadows in the corners of the room.
– Using the Soft Round Brush Paint black shadows in the room as shown.
Step6: In this step we are going to color correct the woman to blend her with the environment of the scene we are creating.
1) With the woman layer selected go to Image>Adjustments>Exposure and set the Exposure= -0.46, Offset=0.0102 and Gamma Correction=0.72.
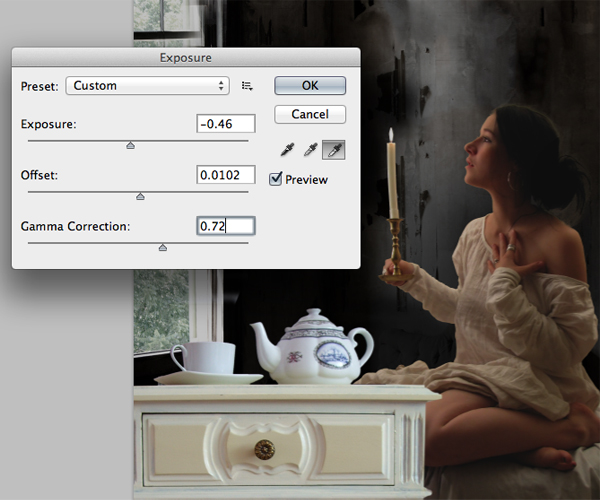
2) Then by using the Curves set the RGB curves as shown to get the following effect.
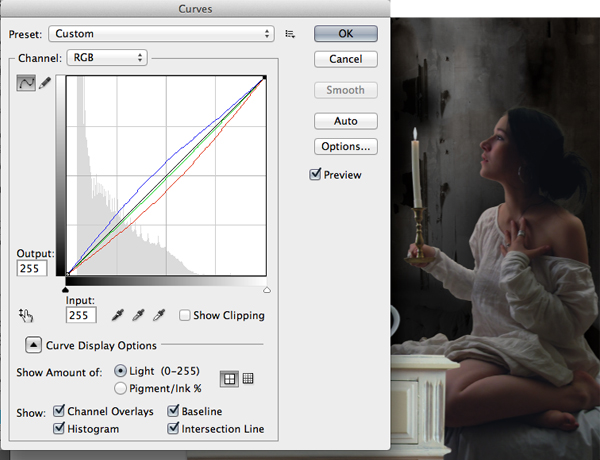
Step7: In this step we are going to darken the table as it is very bright for our scene.
1) With the Table layer selected go to Image >Adjustments>Exposure and set the Exposure=-1.28, Offset=+0.0061 and Gamma Correction=0.68.
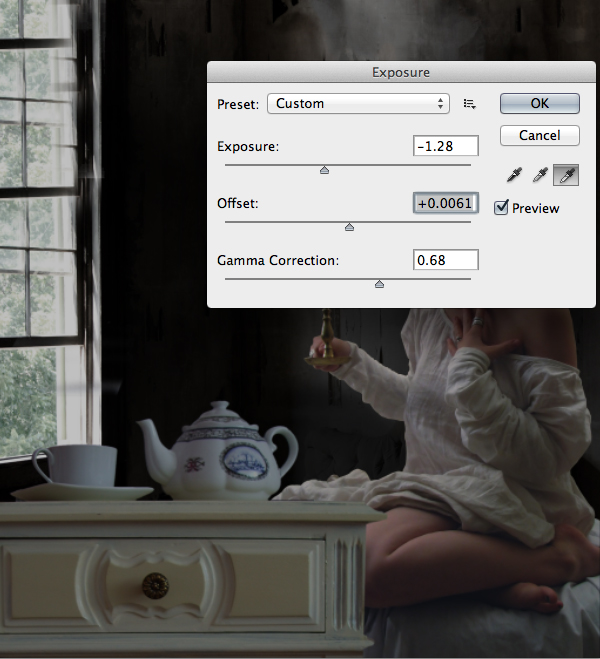
2) Now by using the Brightness/Contrast reduce the Brightness=-28 and set the contrast=77.
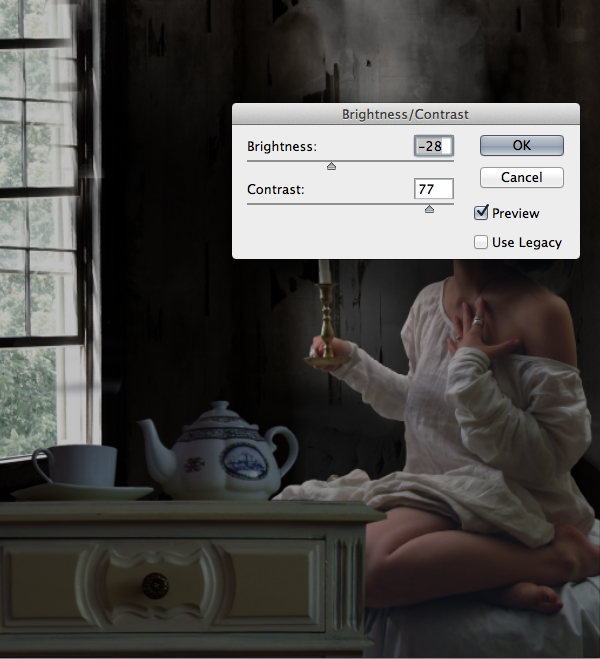
3) Now create dark shadows covering the table as shown using the Soft Round Brush.
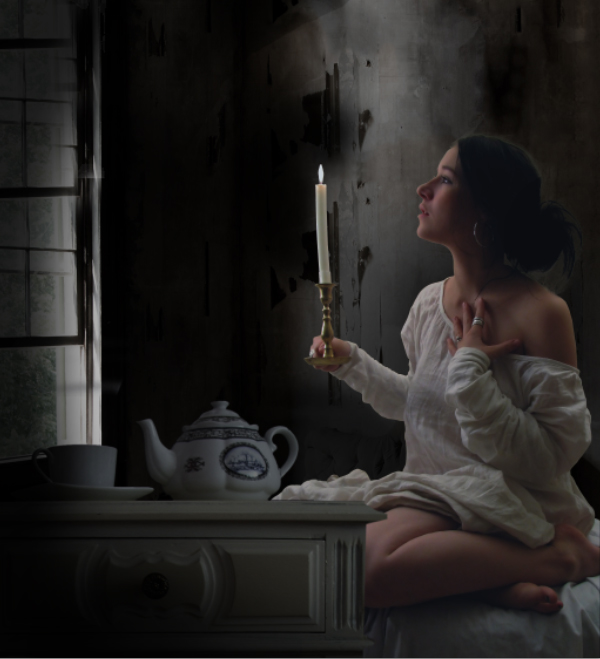
Step8: In this step we are going to create the candle glow using the Blending Options. We can observe that the glow of the candle starts from white and slowly diminishes with orange color.
1) Using the Brush Tool paint the diminishing orange color around the candle flame as shown. Then set the Blending Mode of the layer to Multiply and lower the Opacity of the layer to 85%.
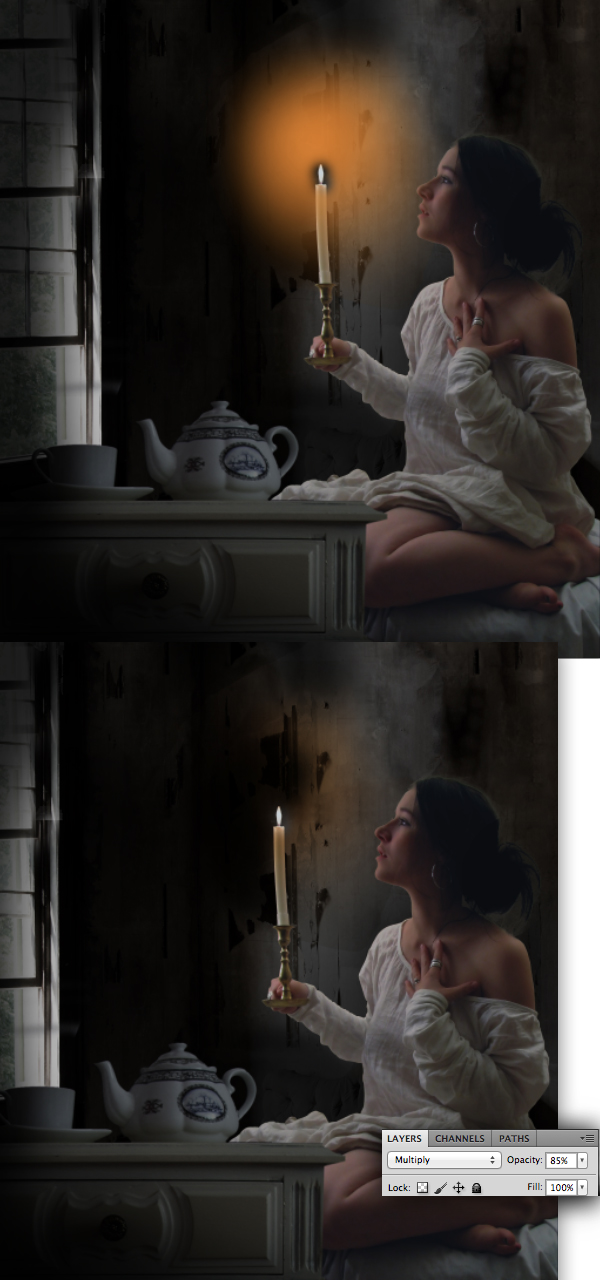
2) Now paint a brighter glow around the flame as shown.
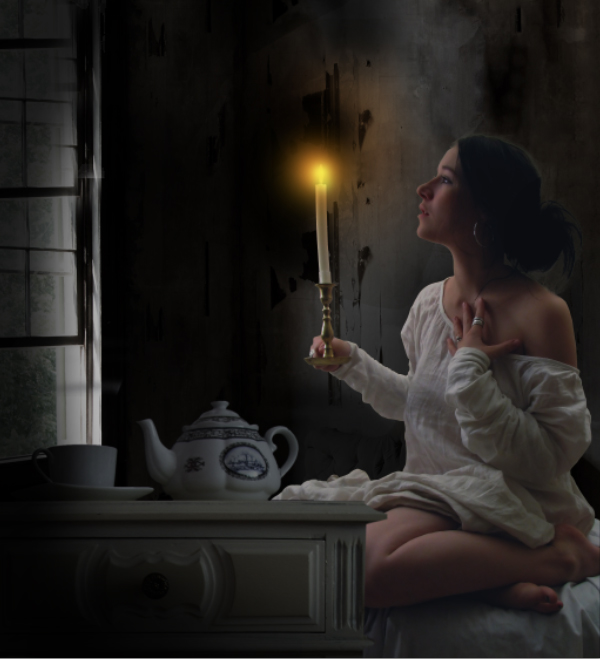
Step9: In this step we are going to create a blue shade on the woman to illustrate the moonlight from behind window, which is not shown in the scene.
1) Using the Brush Tool paint the blue color as shown on the woman and on the table.
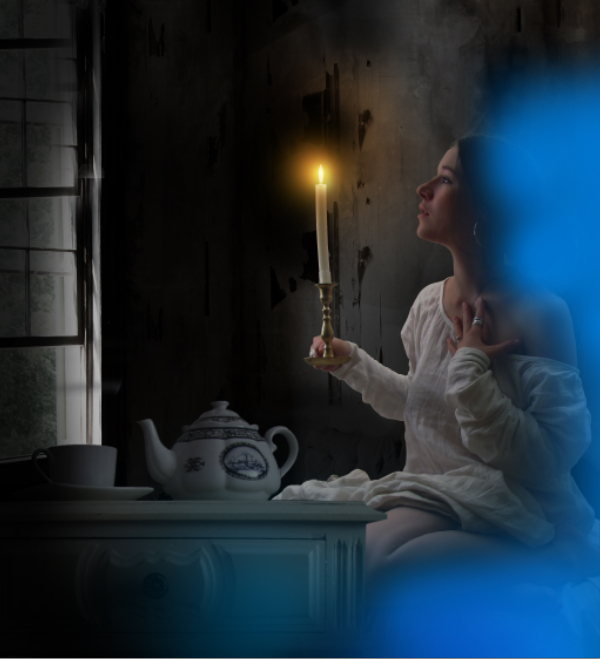
2) Then set the Blending Mode of the layer to Multiply to get the following effect.
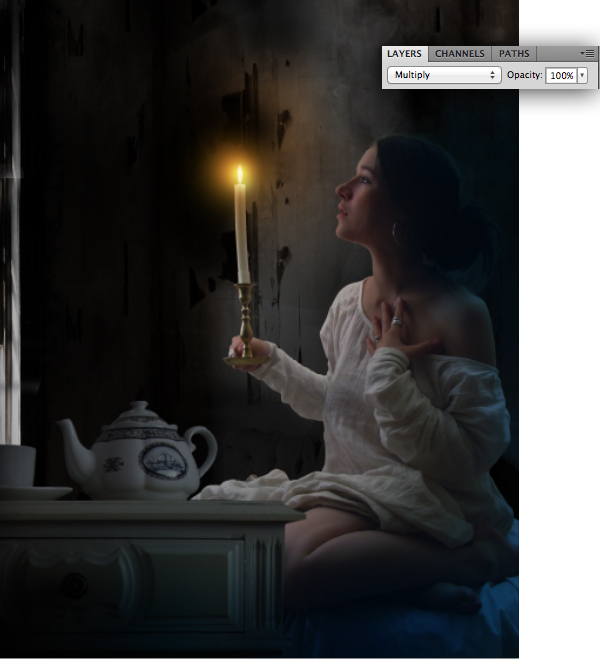
3) Then similarly create the blue shade on the window in the scene as shown.
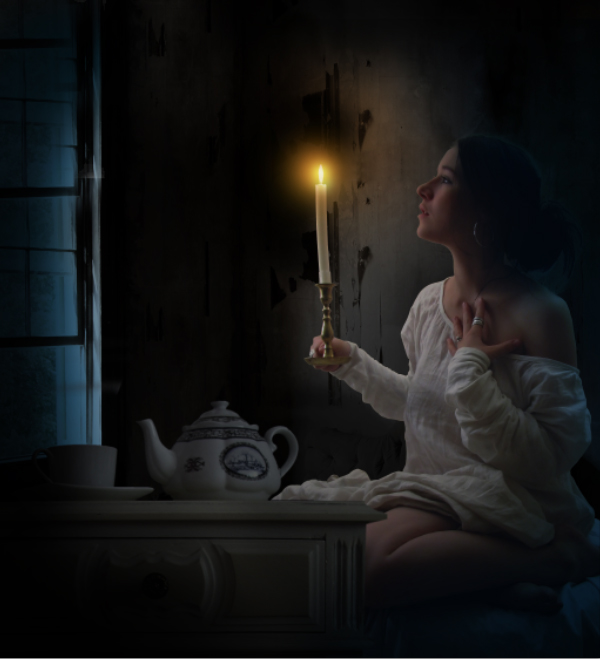
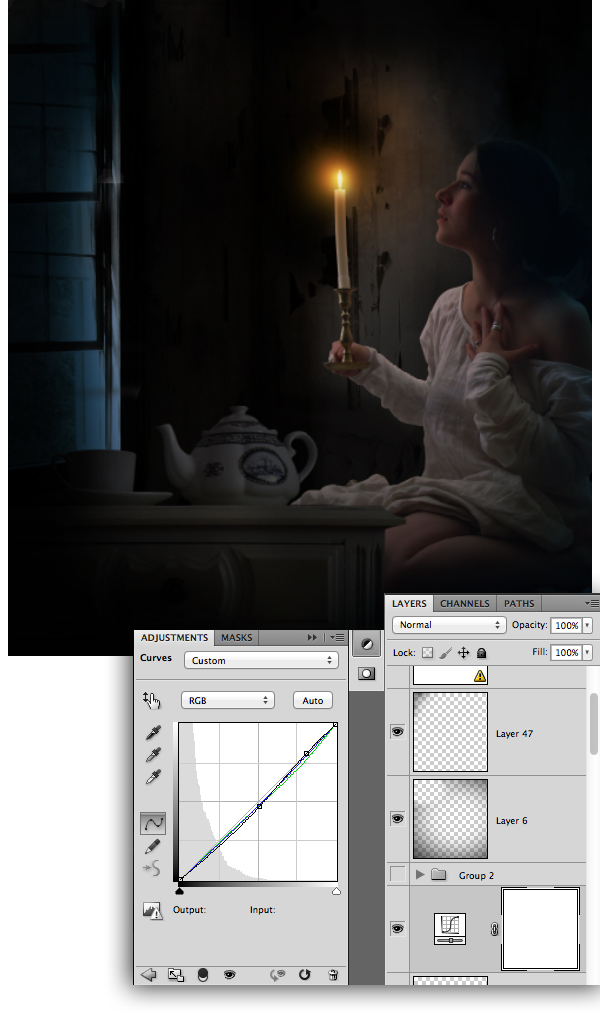
Step10: In this step we are going to color correct the whole scene evenly using the Adjustments layer.
– Create a Curves Adjustments layer and set the curves as shown to darken the shadows and to increase the contrast of the colors in the scene.
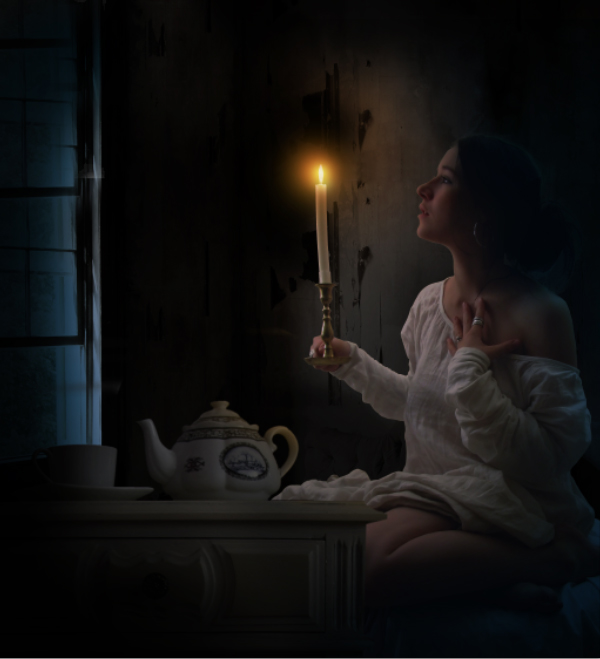
Step11: Since candle is the only source of light in the scene it’s light shade will be casted on the teapot. Hence we are going to create the candle light shade on the teapot in this step.
– Using the Brush Tool (B) paint the orange color on the edges of the teapot as shown.
Step12: In this step we are going to paint shadow under the sleeves of the arm holding the candle.
-Create a new layer above the woman layer and paint the shadow under the right hand sleeve as shown.
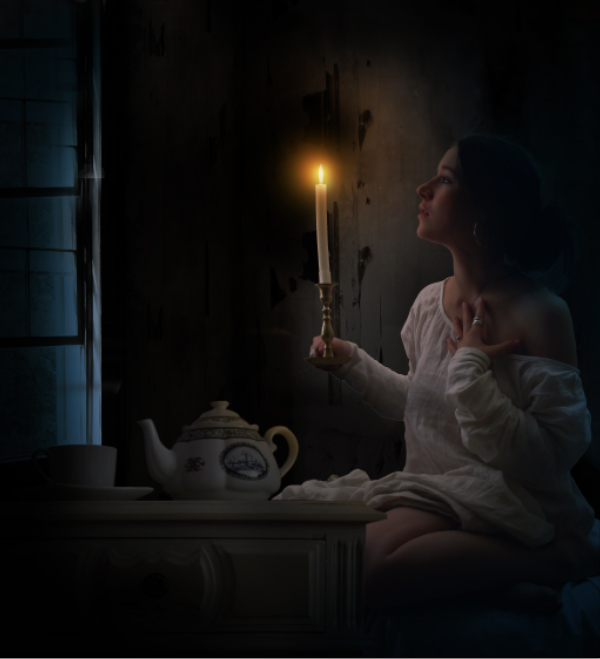
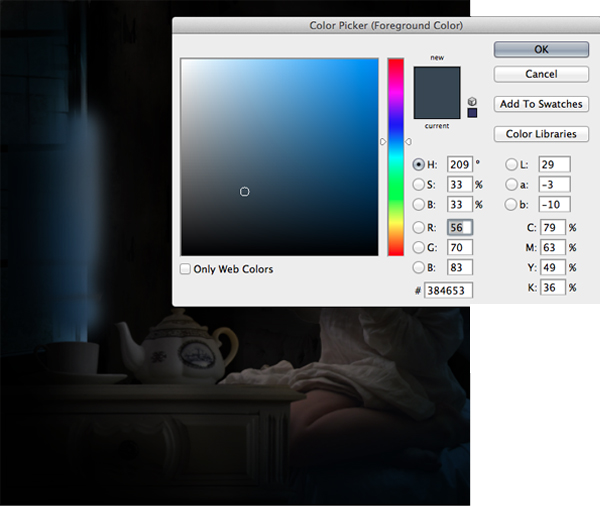
Step13: In this step we are going to reduce the brightness from the window. Using the Brush Tool paint the windows with the color #384653 then set the Blending Mode of the layer to Multiply to get the following effect.
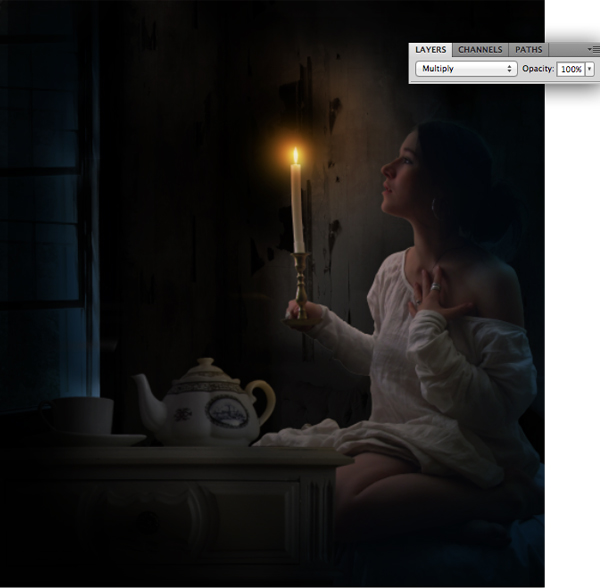
Step14: In this step we are going to create the ghost in the scene.
1) Import the image of the pirate woman onto the working canvas and place it in front of the woman with candle as shown.
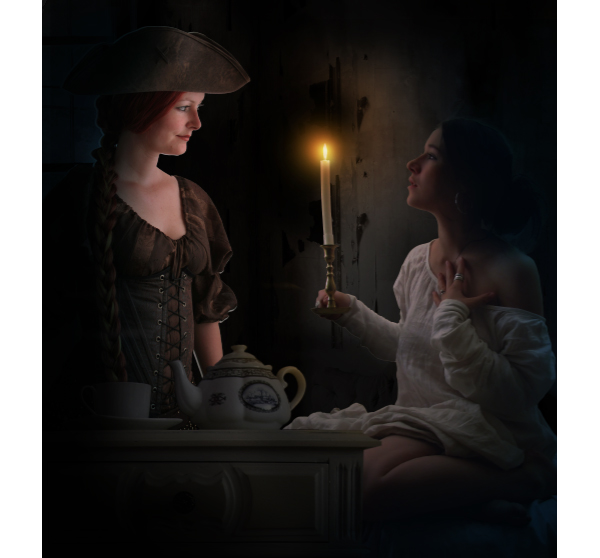
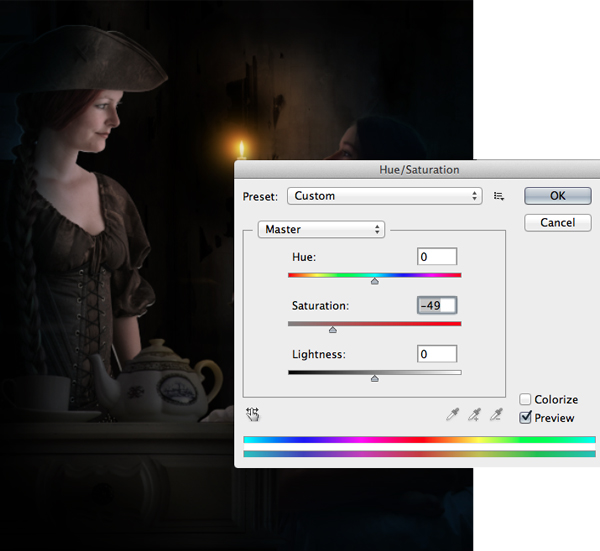
2) Usually ghosts look pale in color, as they don’t have blood in them. Well that is how ghosts were portrayed in movies since our childhood. Hence with the pirate woman layer selected go to Image>Hue/Saturation and reduce the Saturation to -49.
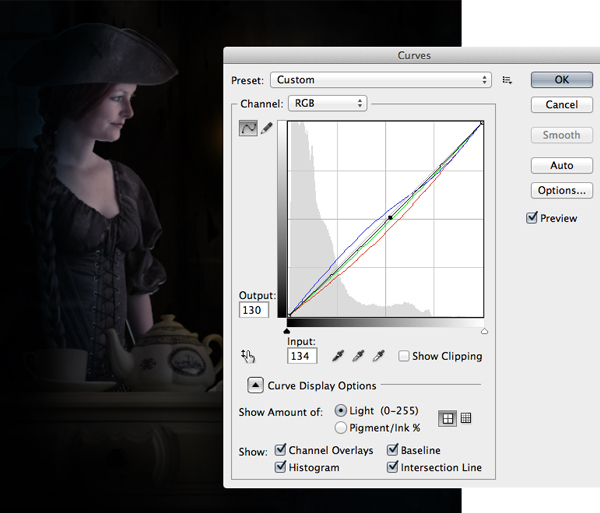
3) Now using the curves set the curves as shown to make the pirate woman look pale in color.
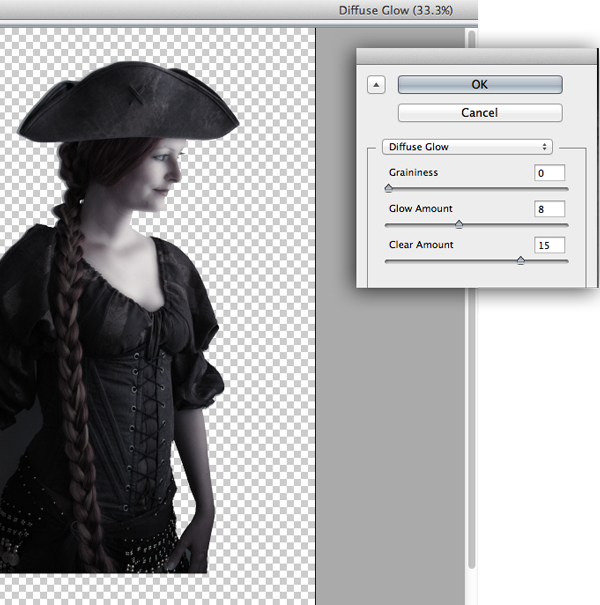
Step15: Ghosts don’t have a physical body and they don’t have a fine skin texture, they seem to look smooth and glowing with the aura power. Hence we are going to create the same effect here.
1) With the pirate woman layer selected go to Filter>Distort>Diffuse Glow and add a Glow Amount=8 and Clear Amount=15.
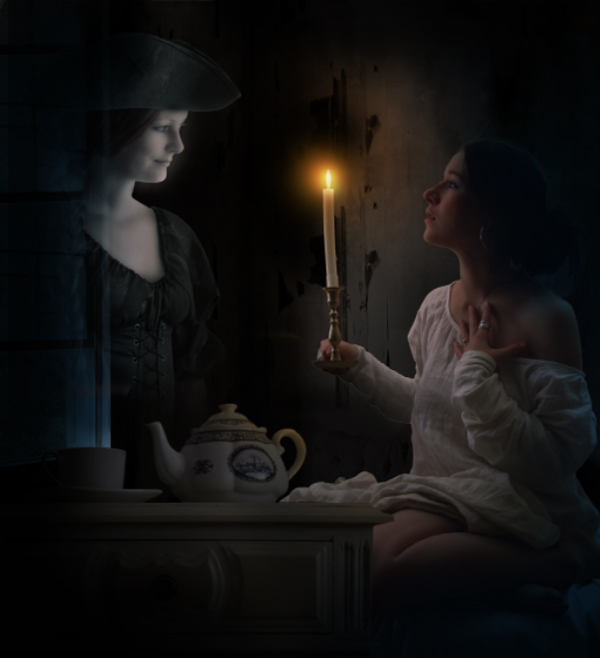
2) Then by using the Eraser Tool (E) erase some part of the pirate woman as shown and lower the Opacity of the layer to 78%.
Step16: Ghosts haunt only in those places that belong to them. Hence we are going to create a photo frame of the pirate woman on the wall to show that the room once belonged to her. In this step we are going to create a frame on the wall.
1) Cut the image of the frame using the Magic Wand Tool (W) and import it onto the working canvas and transform it to fit the prospective using the Move Tool (V).
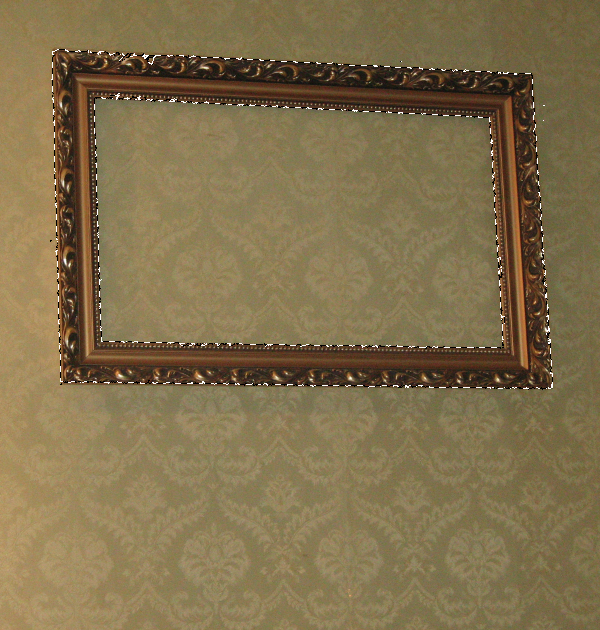
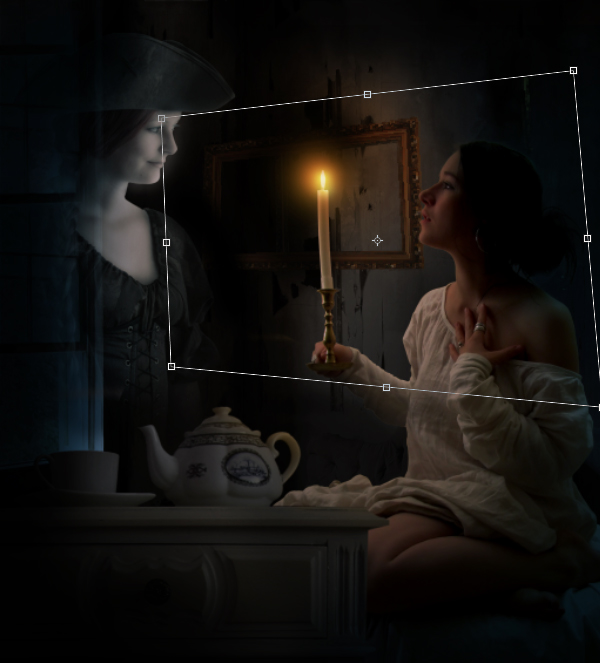
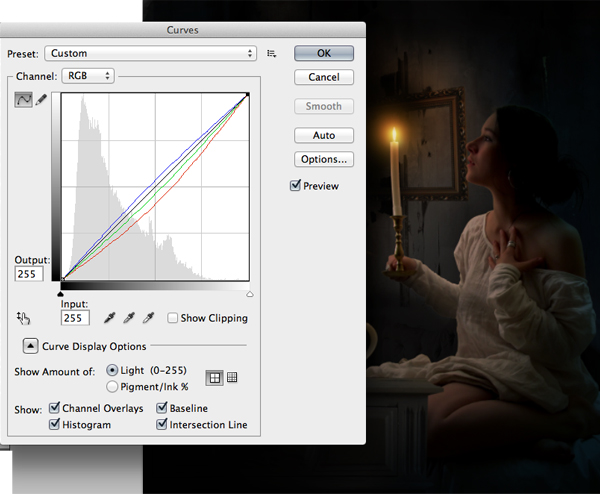
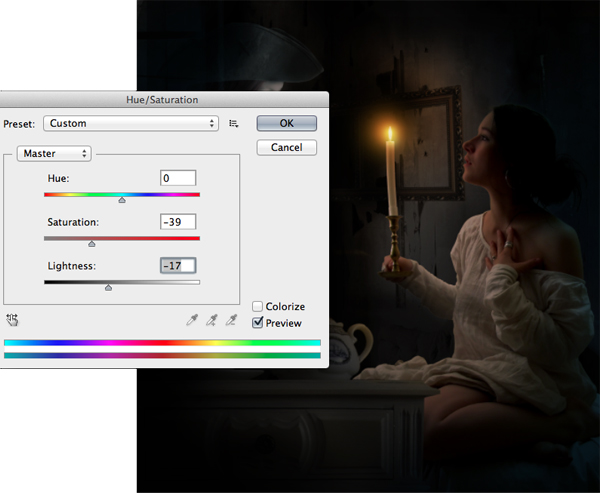
2) Now color correct the frame using the Curves and Hue/Saturation to blend with the lighting of the scene.
Step17: Now import another image of the pirate woman into Photoshop. Then import it onto the working canvas and place it in the frame as shown and erase the excess part of the image coming out of the frame.
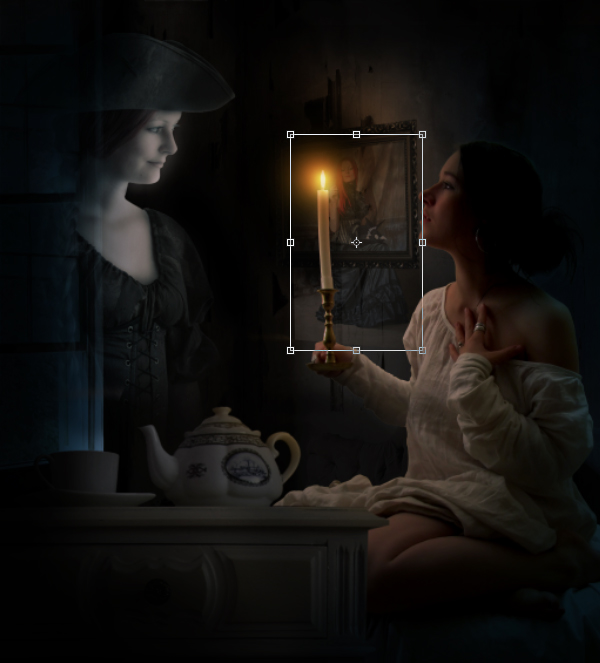
Step18: Using the grunge brushes paint some grunge on the photo frame to make the frame look worn out.
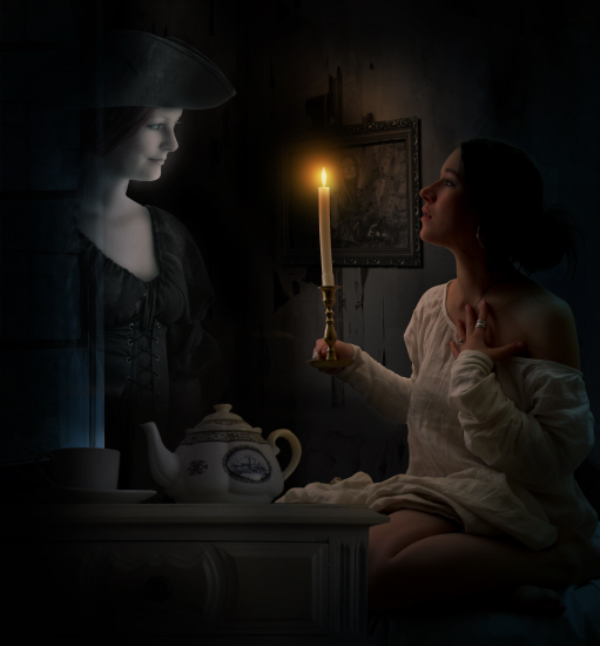
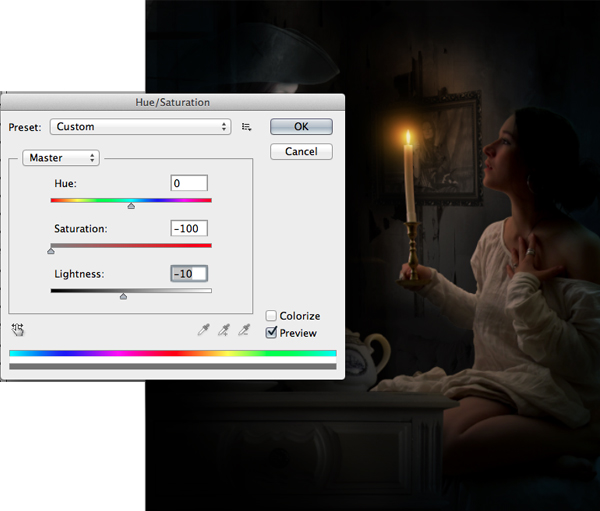
Step19: Since the old images are shot in black and white we need to convert the photo in the frame to gray scale. With the photo layer selected go to Hue/Saturation and reduce the Saturation=-100 and Lightness=-10.
Step20: In this step we are going to create a shadow to the frame to create a natural depth.
1) Duplicate the frame layer and convert it into silhouette using the Levels.
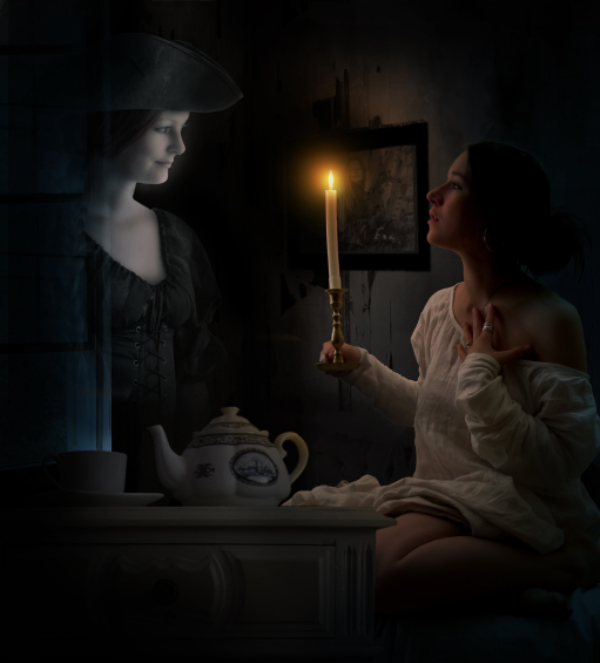
2) Then place it behind the main frame and add a Gaussian Blur of Radius 2.5px.
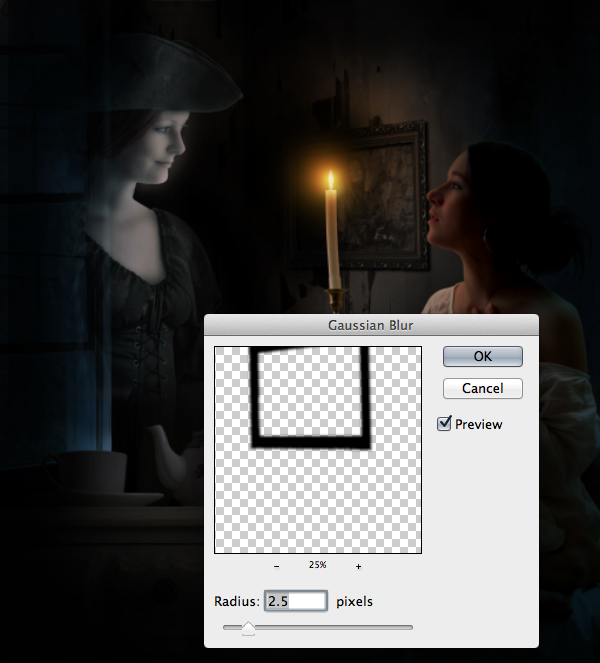
Step21: In this step we will be creating curtains in the scene.
1) Import the image of the curtains on to the working canvas and place them on the top as shown.
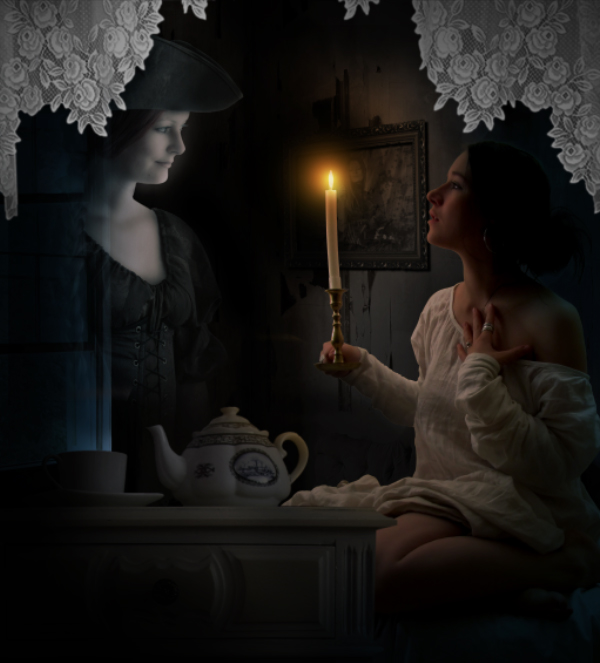
2) To create the moon light on the curtains paint the blue color on them and set the Blending Mode to Multiply and reduce the Opacity to 13%.
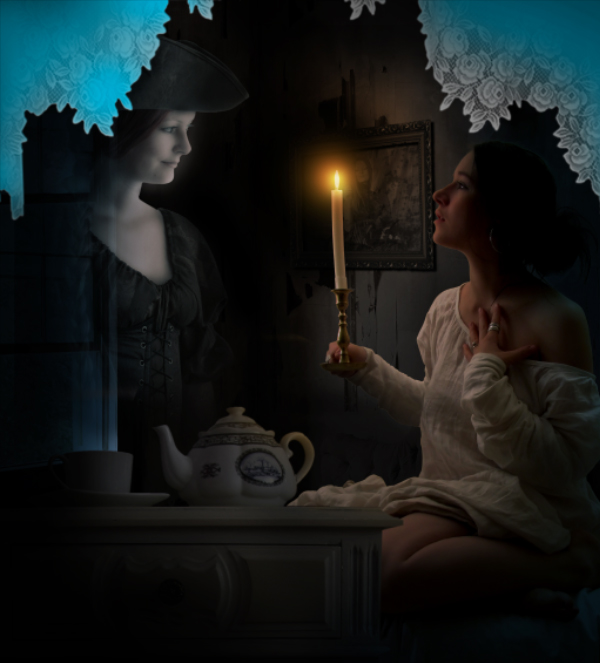
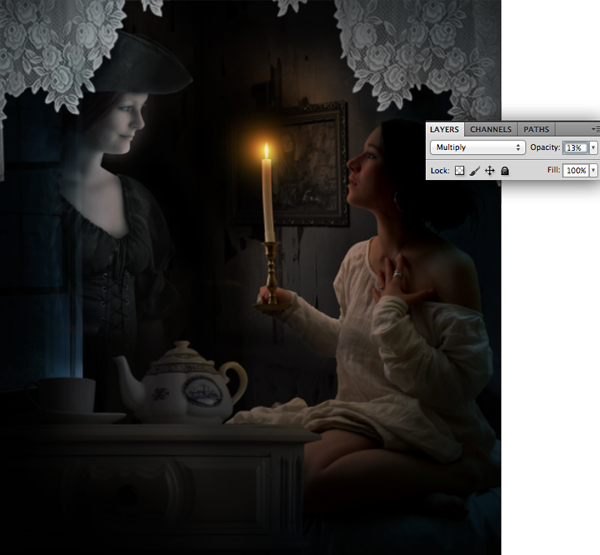
3) To create a spooky effect cut the edges of the curtain as shown using the Lasso Tool (L) to create a torn effect to the curtains.
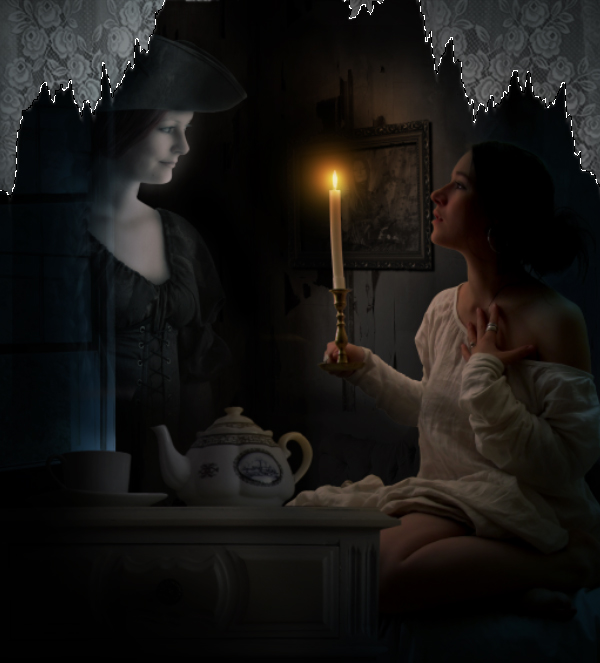
Step22: In this step we are going to create a ghostly title to match the theme of the scene.
1) Using the spooky font type in the title ‘GHOST’. Then by using smoke brush paint the smoke along the shape of the font.
Below image shows the procedural approach to create the title.


No comments:
Post a Comment